
How to screen record on a Chromebook
Chromebooks have a simple built-in screen recorder, and a free Chrome extension can add more features. Here are both options, so you can pick the one that fits what you’re making.
Option 1: The built-in Screen capture tool
- Press Shift+Ctrl+Show windows, or open Quick Settings and choose Screen capture.
- Select Screen record, then choose the full screen, part of the screen or a window.
- Use the settings icon to pick a microphone, then start recording. Click the red stop button in the shelf when you’re done.
Videos are saved to your Downloads folder. It’s quick, but it saves WebM files and has fewer options.
Option 2: Framecap (webcam bubble, tab audio, MP4)
Use Framecap if you want your face in a movable webcam bubble, the sound from a tab or the whole system, pause and resume, or an MP4 file that plays everywhere.
- Install Framecap from the Chrome Web Store and click its icon, or press Alt+Shift+V.
- Choose Screen + camera and place your webcam bubble.
- Turn on System audio to include sound. On a Chromebook, sharing the entire screen records all system sound.
- Click Start recording, choose what to share, and click Share.
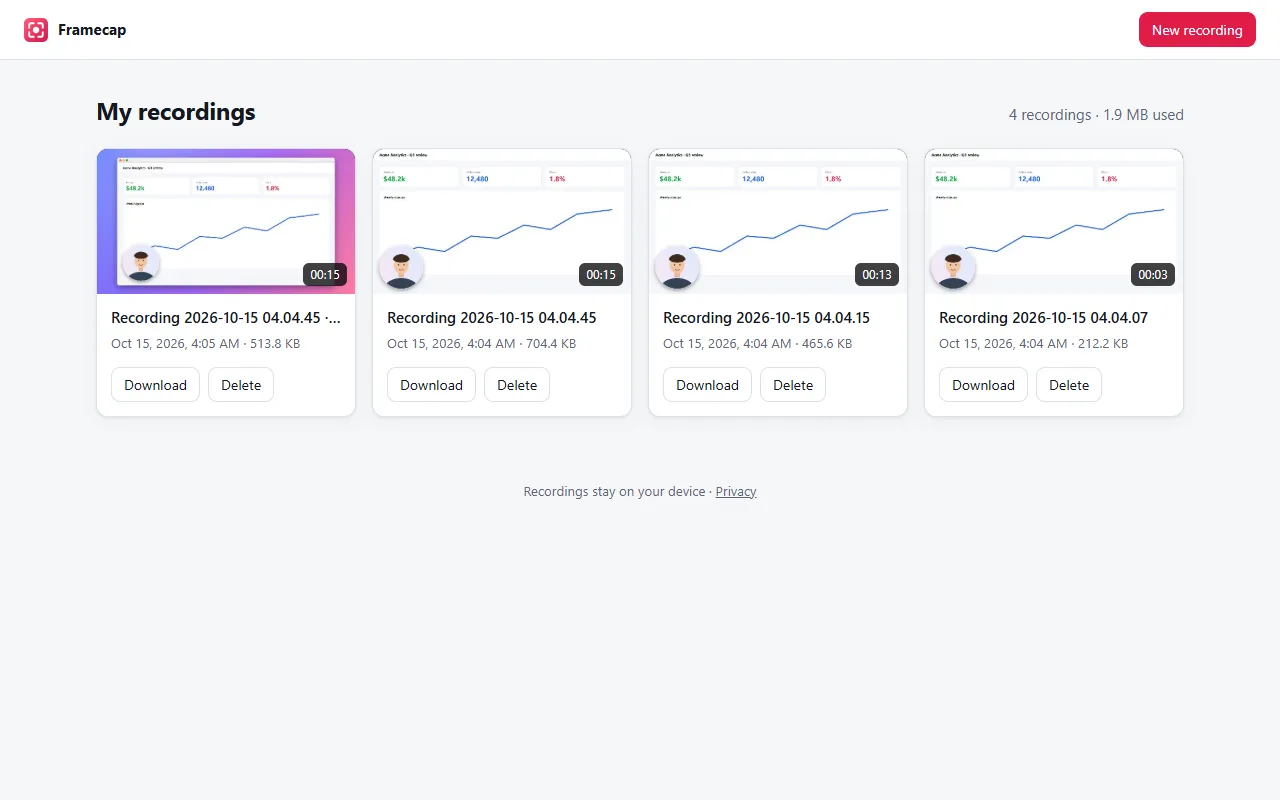
- Stop with Alt+Shift+S, then click Download.
Which one should I use?
- For a quick clip of your screen, use the built-in tool.
- For a lesson, demo or tutorial with your face and sound, use Framecap.
- For an MP4 to share or edit, use Framecap.